Adding Photos to your Computer

Most of us treasure our photos with much admiration, and so it should follow that sharing them means just as much. This is offered by the use of our computers, cameras and scanning equipment.
The trick here first involves getting your images from your camera or device on to your computer. There are several ways of doing this, for the most part I will show you the simple method that will see you acquainted with the “Scanner and Camera Wizard”.
The trick here first involves getting your images from your camera or device on to your computer. There are several ways of doing this, for the most part I will show you the simple method that will see you acquainted with the “Scanner and Camera Wizard”.
This is another built-in program supported by Windows that offers a convenient way of accomplishing specific tasks. Although you can purchase additional software that will perform these and other functions, they do come at a cost and usually require some experience to use them. Our intention here is to show you the easy way using what you already have.
We will begin by teaching you how to copy images from your camera to your computer. Our key ingredients for this exercise are your camera and computer, you may have a USB cable or card reader which we use to transport your photos from one device to the other. Let’s assume you are using a USB cable for this tutorial.
We will begin by teaching you how to copy images from your camera to your computer. Our key ingredients for this exercise are your camera and computer, you may have a USB cable or card reader which we use to transport your photos from one device to the other. Let’s assume you are using a USB cable for this tutorial.
To begin have your computer turned on, now locate the small “mini USB” port on your camera, (sometimes they may be hidden under a flap). Now attach the cable and insert the other end in a USB port on your computer. You will probably note that the smaller end of the cable is “keyed” to fit the camera, while the bigger rectangular end is keyed to fit a standard USB port on your computer as depicted below.
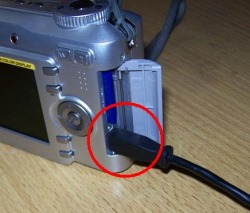 Mini USB Connected to Camera |
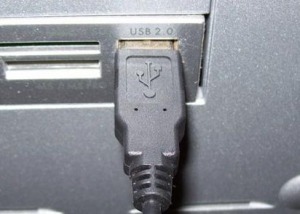 Standard USB Connected to USB Port |
Transfering Photos
Below details the simple steps for transferring photos.
1) Connect cable between camera and computer
2) Turn on your camera
3) Click Start then All Programs
4) Scroll up to Accessories
5) Scroll down to Scanner and Camera Wizard
1) Connect cable between camera and computer
2) Turn on your camera
3) Click Start then All Programs
4) Scroll up to Accessories
5) Scroll down to Scanner and Camera Wizard
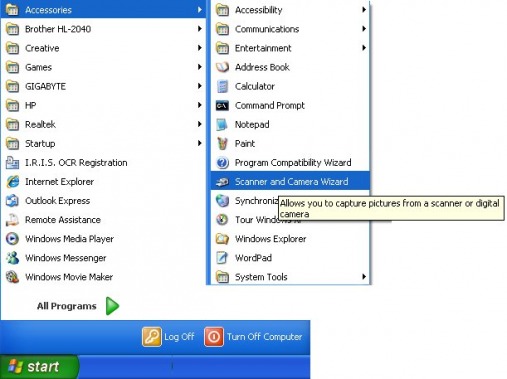
Click Star/All Programs/Accessories/Scanner and Camera Wizard
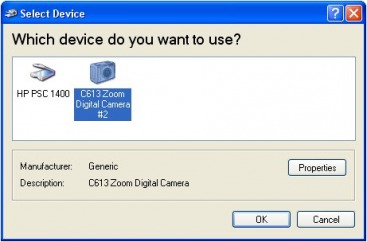
Once the computer recognises a new USB device has been plugged in, you will be greeted with an icon in the device selection window. Click the camera icon and click OK.
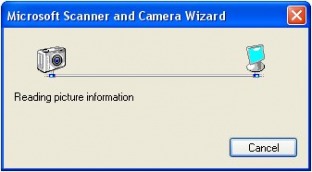
Now the Wizard will read the images stored on the camera preparing for transfer.
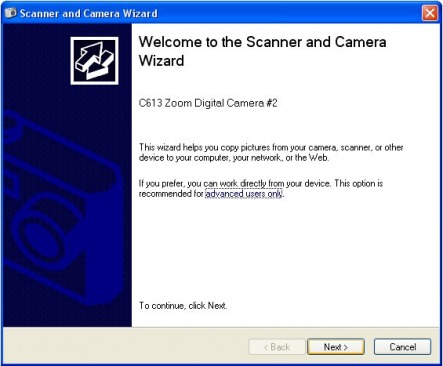
When they are ready you will be presented with the Welcome to the Scanner and Camera Wizard screen as shown below.
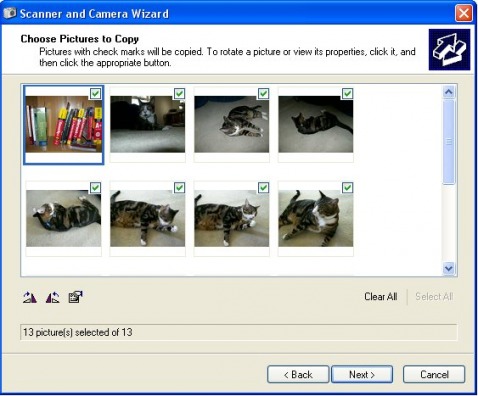
A new window will appear where you can choose what pictures you want, you can click “Clear All” and begin ticking the images you want transferred. The default action in Windows has the “Select All” function active and all images will be transferred on to your computer. When you are happy with the selection click Next.
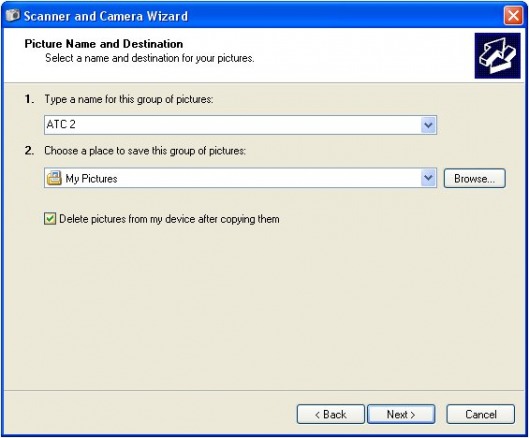
By Default Windows will place these images in your “My Pictures folder”. You can ascribe a name if you wish and also a new folder by browsing to its location. There is also a tick box you can tick, that allows you to delete the images from your camera. Now simply click Next.
You will now see your photos being transferred over to your computer.

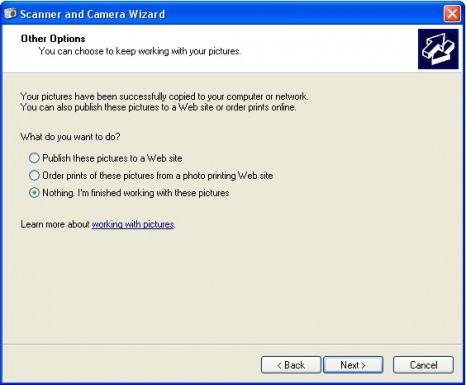
Once complete you will end up at the “Other Options” screen, you have a few choices here and should you want to learn more, click “working with pictures” highlight. If you just want to view your photos simply click Next.
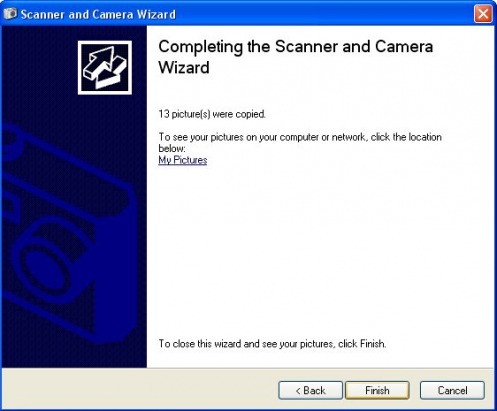
Now we arrive at the finishing process and it’s as easy as clicking the “Finish” button as below.
Generally speaking if you left your setup as default you should now see your images in the “My Pictures” folder. From here you can edit and email them as you wish. To find out how to email your photos see our section on emailing photos.
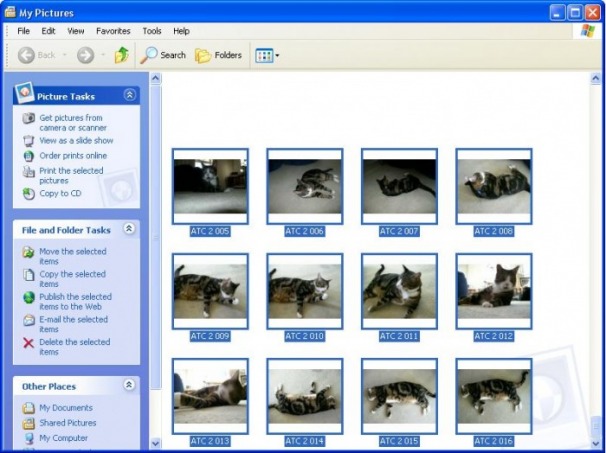
My Pictures Folder
As detailed previously, there are many other ways of importing your photos from your camera or other device, some might use a card reader or printer that has a built-in card reader. Many digital camera manufacturers have software that accompanies the camera, or you can also purchase additional software like Photoshop etc. For the basic user we recommend keeping things simple, and concentrate on using the Wizard described above, then perhaps as your skills advance, it may be worth upskilling and investing in additional software.
One of the benefits of having your photos on your computer, is that you can use them as a desktop background, or use them in a picture slide show as a screen saver. To find out how to do this click the following:
Screen Savers or Changing the Desktop Background
Screen Savers or Changing the Desktop Background
Photo editing and working with images can be a very satisfying and rewarding experience, many people I know make money from their work and some only do this as a hobby. But they too started somewhere, and if you have successfully completed the simple steps above, well done, because now you too are on your way.

Cheers !!